Congratulations! Now that you know you are pregnant, your to-do list for before you give birth must be as long as your arm. Documenting your pregnancy progress might be on your daily to-do list. You might be taking daily bump progression photos. However, you may also want a more elaborate photoshoot to help you remember this unique and special time in your life. Have you considered saving money by taking your own DIY maternity photos? If so, then read on. Your photos can look just as professional as if you had them taken on location by an expert photographer.
READ: How to relax before your baby arrives
Table of Contents
What week is best for maternity photos?
Around 30 weeks is an ideal time to take maternity photos. Your bump is big by then so that it is evident in photos but it is not so big that you are uncomfortable and unable to enjoy yourself or get into good positions during the photoshoot.
Certainly, you may have several other factors to consider when picking your photoshoot day. For example, you may want the photos for a specific purpose like your baby shower. Or you might just be plain busy at 30 weeks and need to do it sometime before or after.

How do you prepare for a DIY maternity photoshoot?
Depending on your family situation, it may not be as easy as picking a day. You may need to one or more of the following:
- If you have other children at home, you may need to make sure there is someone to watch them
- Get a good night’s sleep the night before
- Prepare your clothing
- Practice doing your own makeup
- Manage your expectations
- Practice your hairstyle

7 Tips for the perfect at-home pregnancy bump photos
1. Pick a theme
This will save you a whole lot of deliberation time. That is because it will give you instant ideas as to what exactly to wear, what to do with your hair, what props you might need and what kind of poses you want to do, for example. You could go for a nautical theme, a beachy theme, Disney theme or a colour-specific theme. Picking a theme will make your decision at Tip #5 below very easy!
You may also like: How to pack a realistic C-Section Hospital Bag
2. Choose a clean background
Make sure there are as few things in the background as possible. You can also use a large white, gray or cream sheet as your backdrop.
3. Don’t use your camera flash
The flash creates a harsh and often unflattering light. It can create dark shadows under your eyes and give your face a washed out look unless you know how to use it expertly. You want your face to look as natural bright in your DIY photos as possible.
4. Use your phone camera or camera self timer/tripod with remote control
Awesome if you have some help. If you do not, setting things up and running back and forth to your camera could become a cardio workout you didn’t bargain for. Make things easier for yourself by using the timer on your phone camera or camera (whichever one you are using). 10 seconds on your timer should work just fine and give you enough time to get into position. Even better, you could get a tripod that comes with a remote control. Attaching your camera to the tripod allows you to use the remote control to trigger the camera when you are ready with each pose.

5. Dress (or undress) however you want
Get glam. If you wish. Really, do exactly as you would if you were shooting on location with a professional photographer. Your maternity photo dresses or outfits should be as simple or over-the-top as you would like them to be. Go with one outfit or have six outfit changes! You might want to get very dolled up if you are thinking of it as a one-off event that you might not do again. You may also prefer to keep it simple. Whichever you choose, make sure you feel comfortable.
Note: do not wear clothing with elastic in the hours leading up to taking your DIY maternity photos. They might leave marks on your skin that will show up in your photos.
6. Practice
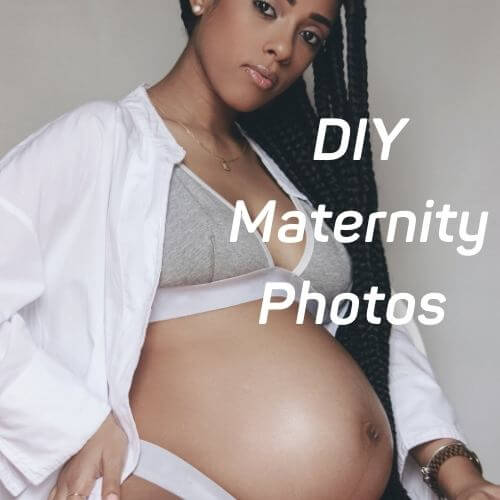
Figure out your best poses. What positions flatter you the most? Get in front of a full length mirror and practice either just by looking at your reflection or by taking test photos. The traditional pose and one that works well for just about anyone is to stand sideways with a hand on top of your belly and your other hand cradling your belly. Of course, any other will work just as well. Take some belly only photos. Do not be afraid of close up shots of your face and body as well. For close ups, angling the camera so that it’s taking the shot from above tends to work out quite nicely.
As you practice, it may be helpful for you to write a line-up of poses that you think work for you.
Remember that you might want to get your partner and any other family members in the photos too!
You may also like: Natural vs. Epidural births
7. Go for natural light
This is key for your DIY maternity photos. Stand in the light from a window during the day. Not too close to the light though or else the light will look too harsh or bright in the photos. Natural light provides that effortless look you need for your photos. It is harder to achieve that look with artificial lighting. For this reason, you may want to aim for the morning hours for your photoshoot. Of course, lighting is something you might be able to fix fairly easily in an app if you absolutely need to. You just need a good photo editing software or app.

Easy edits for your photos
Once you have all the points above covered and have produced photos you can be proud of, don’t be afraid to edit them. These are my top three favourite editing apps:
- Canva
- Adobe Photoshop Express Editor
- Airbrush
Check them out.
So what do you think? Are you ready to DIY your maternity photos?


Love this! I’ll be following these steps and trying to get some fab bump shots!
I didn’t do much photos for my two pregnancy but l wish l did. Your post has interesting tips
Pingback: 7 Things to know about having a second baby | Kin Unplugged
Pingback: The most important things to do before baby arrives | Kin Unplugged